Intro to Bread Making: The Basic Process
Overview
Watch the full video!
What is Yeast?
Yeast is a living organism. It is a fungus and it happens to be everywhere. Yeast is floating through the air, living in our bodies, on our skin, in the dirt, and is naturally occurring in many foods that we eat.
In baking, yeast is used to make bread rise and also to add flavor the bread.
Dry Yeast for Baking

Dry yeast is sold in two main forms: active dry yeast and instant yeast (also known as quick-rise or rapid-rise yeast).
These two types of yeast work the same with only one major difference: how fast they bake your bread rise. Active dry yeast works about 50% slower than instant yeast to make your bread rise. However, when things rise slower you actually get a more flavorful bread.
Active dry and instant yeast can almost always be used interchangeably. Just be aware that your rising times will be longer with active dry yeast compared to instant yeast.
How Yeast Functions
Dry yeast that is used for baking has been dried out and is asleep because it is lacking the two main things it needs to thrive: moisture and a food source.
When yeast is added to a bread dough, the moisture in the dough wakes it up. It then begins feeding on the sugars in the dough to create carbon dioxide gas which makes the dough rise as well as alcohols which gives the bread its flavor and aromas. This process is called fermentation.
Sugar is always the food yeast foods on, however a dough does not actually need sugar for the yeast to have a food source. When flour is hydrated, the starches break down into simple sugars which the yeast can then use for food.
When yeast is put into a dough it wakes up and begins feeding, creating carbon dioxide gas and alcohol.
Yeast and Temperature
Yeast is very sensitive to temperature. Cold temperatures slow yeast down, warm temperatures speed yeast up, while hot temperatures will eventually kill the yeast. Yeast begins to die around 140°F/60°C.
The liquid in your bread dough should feel very warm, but not hot to the touch. If it is too hot for you to touch, it is too hot for the yeast and it will kill it.
Proofing Yeast (Making Sure Your Yeast is Alive)
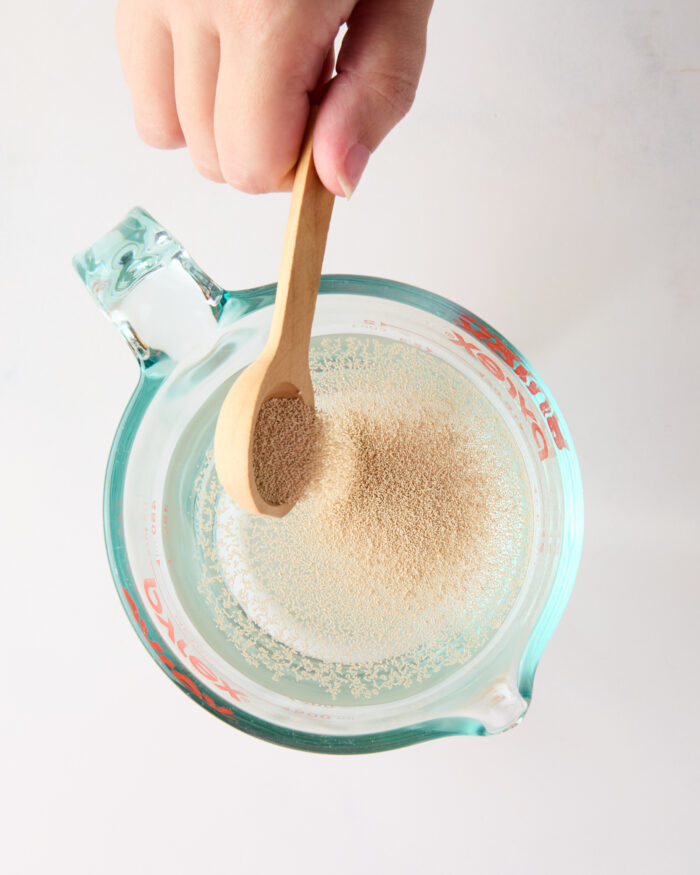

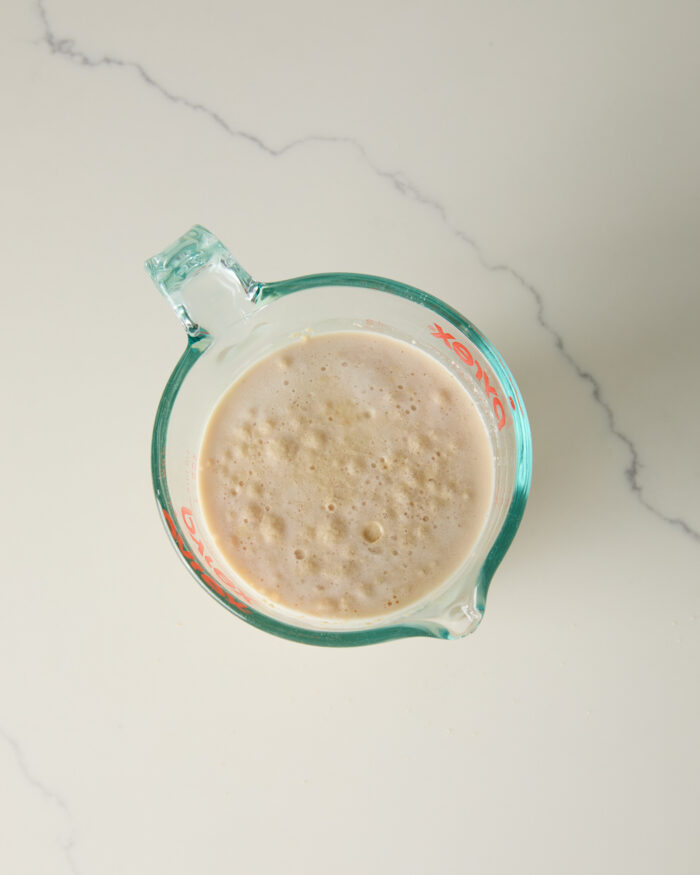
Proofing yeast is a process of adding dry yeast to warm liquid with a pinch of sugar. The liquid hydrates the yeast to wake it up, and the sugar gives the yeast a food source to begin feeding on. If the yeast is alive, you will start seeing little bubbles and foaming in the mixture.
This is a way to make sure the yeast is alive and also gives it a jump start so it is very active when it is added into your recipe. This step is always optional and can be adding into any bread recipe.
How to Proof Yeast
- Warm about ½ cup (120 milliliters) of the liquid called for in the recipe to 110-115°F/43-46°C, which is just barely warmer than body temperature.
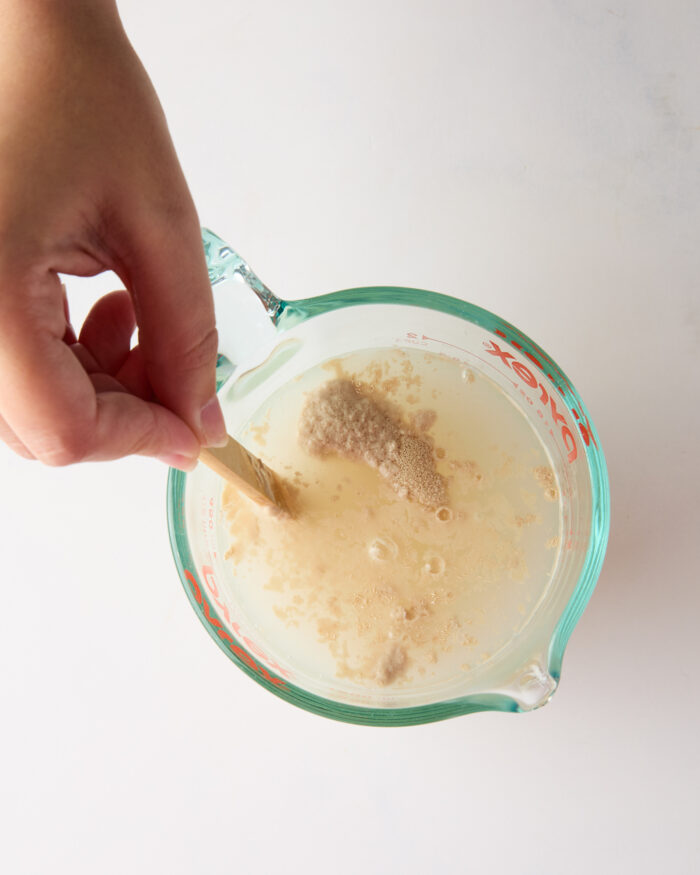
- Add about ½ teaspoon of sugar and the yeast to the liquid. Stir it all together and wait about 5-10 minutes.
- The yeast mixture should begin foaming and bubbling up. If you do not see foaming, then you need to get some new yeast. If you do see foaming, use the yeast in your recipe immediately.
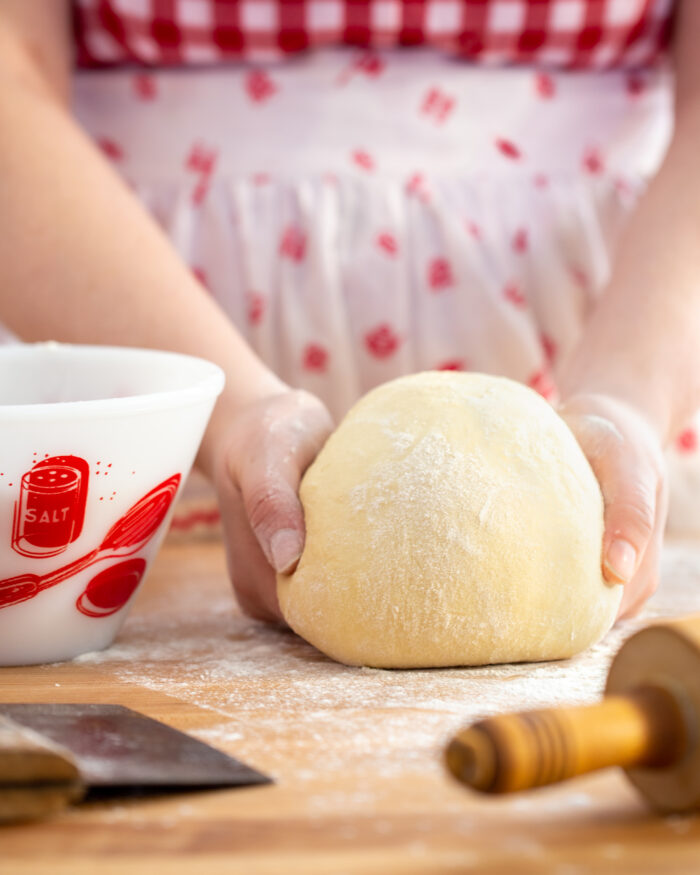
Types of Yeast Dough
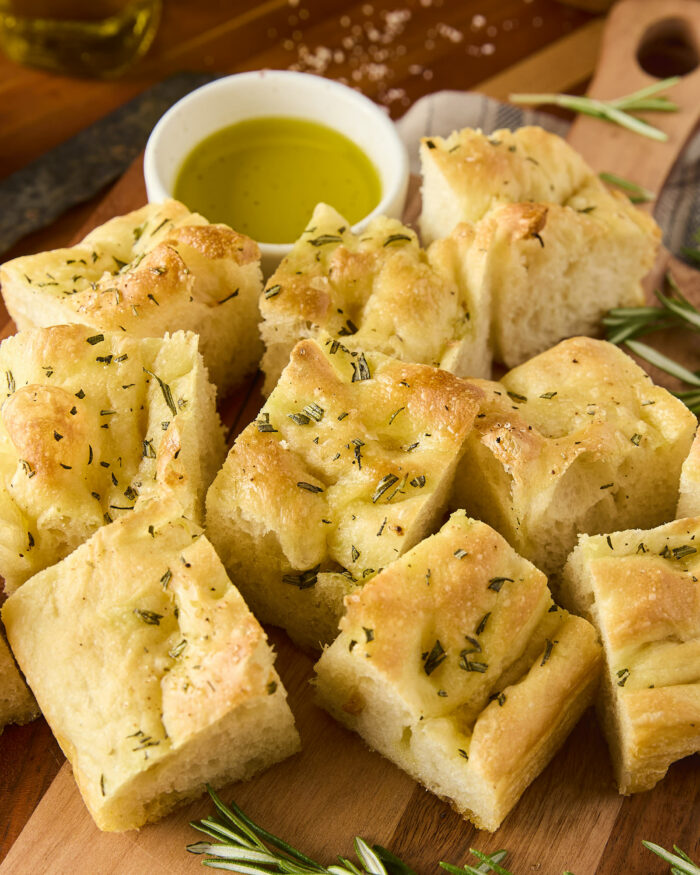
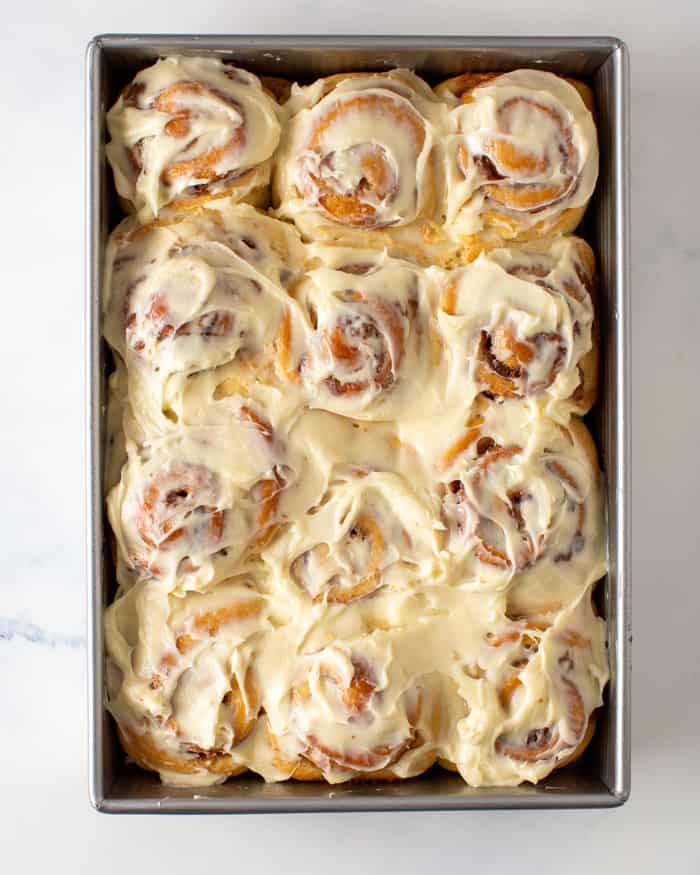
There are two main categories of yeasted dough: Lean Dough and Enriched Dough. Lean doughs do not contain any fat (or contain very little fat) while enriched doughs have a high ratio of fat added to them as well things like sugar, eggs, and milk.
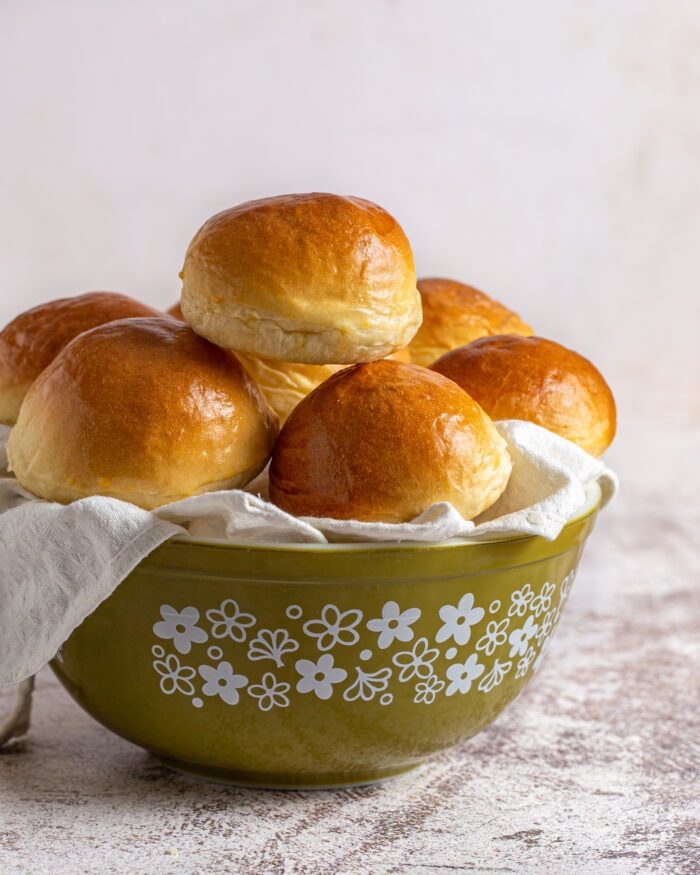
Lean dough creates breads that are typically crusty on the outside and very chewy in the middle. Things like baguette, ciabatta, pizza crust, and crusty artisan style breads are all made from lean dough. Enriched doughs create breads that are much softer and more tender in texture due to the fat. Breads made from enriched doughs include soft dinner rolls, cinnamon rolls, brioche, challah, and yeasted donuts.
Sandwich breads are made from both lean doughs or enriched doughs depending on the final texture the recipe is aiming to achieve. A very soft and fluffy white bread is made from a slightly enriched bread, while a whole grain bread like rye bread is typically made from a lean dough.
The Stages of Making Bread
For a full in-depth description and tutorial for each step, watch my video here!
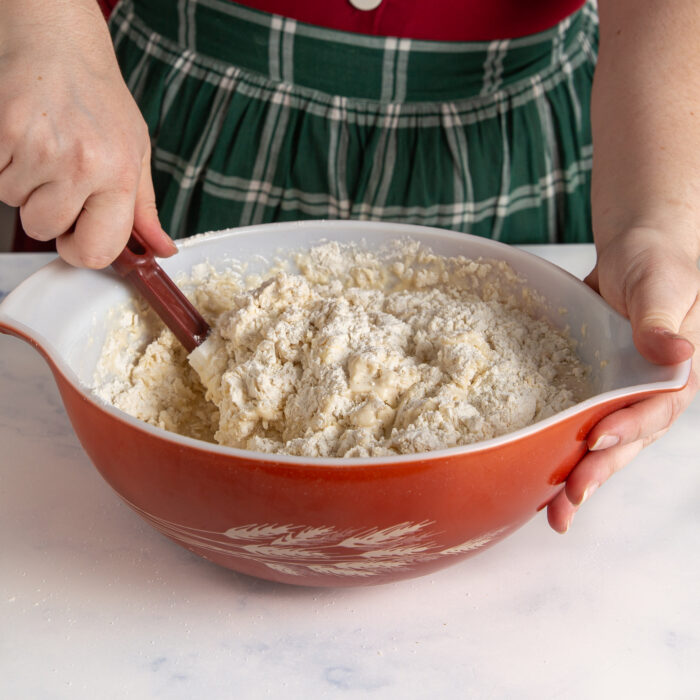
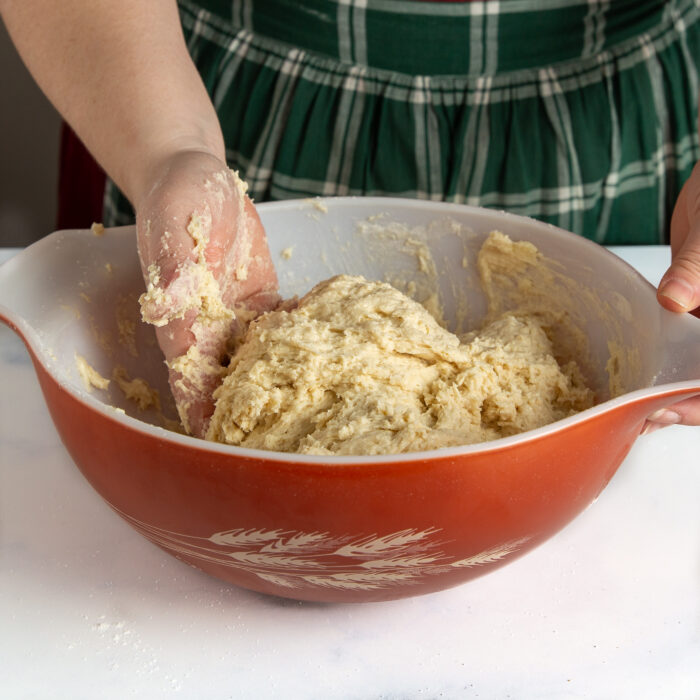
1. Mixing
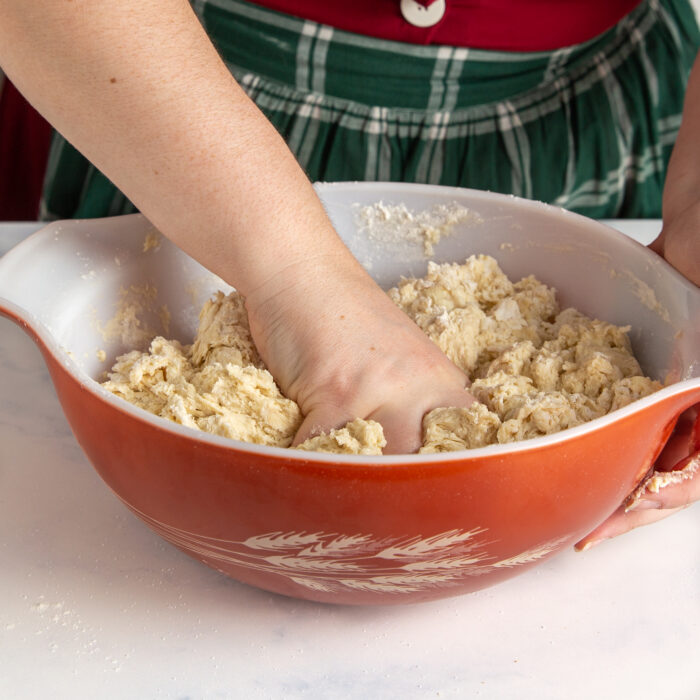
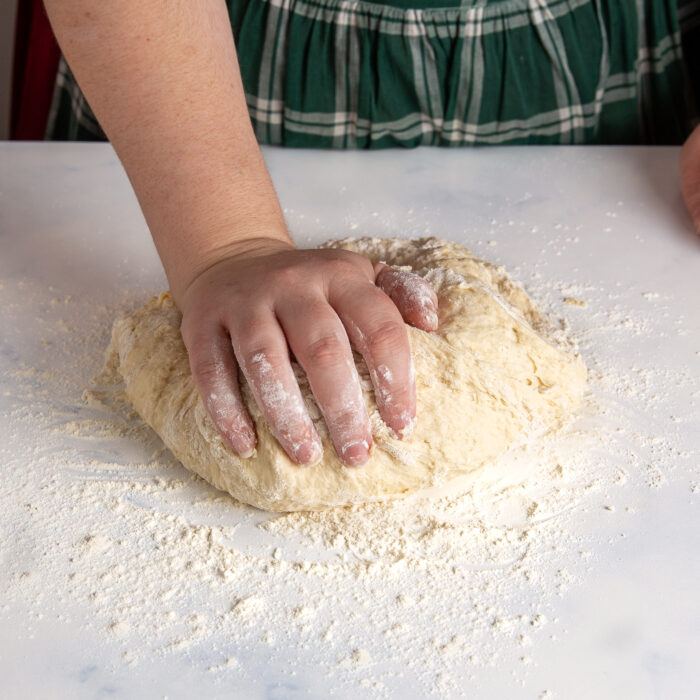
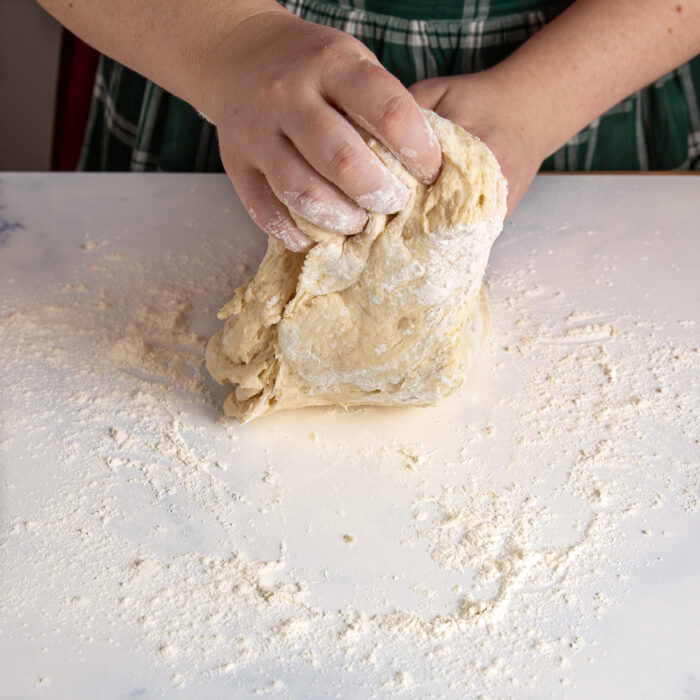
2. Building Gluten Structure


3. Bulk Fermentation (first rise)
The bulk fermentation stage is the first rise the dough goes through as the yeast feeds on the available food. This develops flavor and also continues building strength and structure in the dough.
The length of the bulk fermentation stage will vary widely based on how much yeast is in the recipe, if you used active dry or instant yeast, and how warm or cool your room temperature is.
Dough can move from the bulk fermentation phase into shaping once it is full of air and at least double in size. Some recipes may call for you to “punch” the air out of the dough and let it continue rising for a second time before shaping. This is still part of the bulk fermentation stage.
4. Degassing
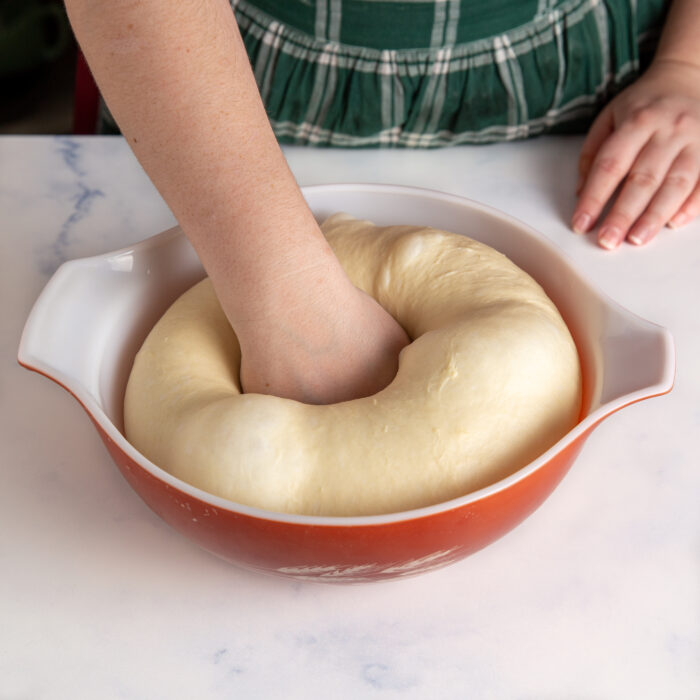
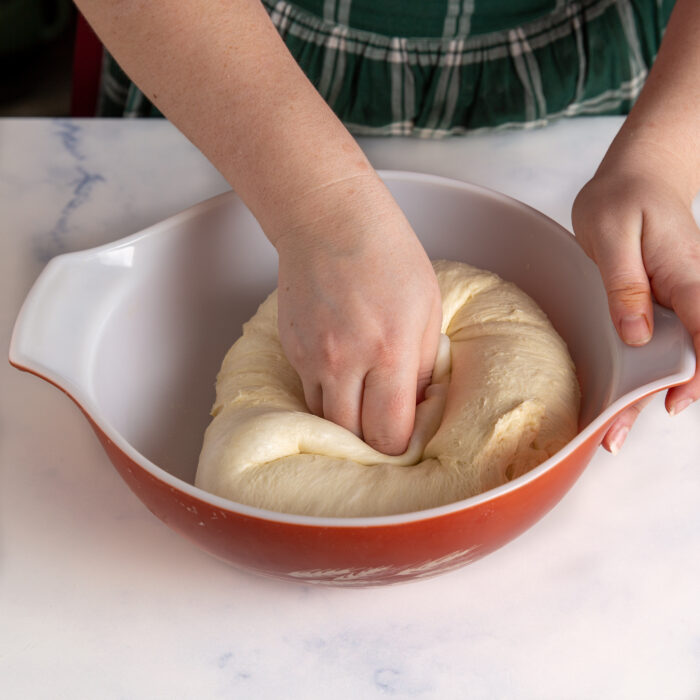
Before shaping the dough, the recipe typically calls for it to be degassed or “punched down.” There is no need to be aggressive with this step. Simply press down in the middle of the dough and bring the edges in to release the gas out. This will allow for your shaped dough to have an even crumb after it rises again.
5. Shaping
Shaping is an important step in the bread baking process as it builds tension on the outside of the dough which helps it to hold it to rise up instead of only spreading out. The specific shaping technique you will use is based on the type of bread you are making.
Click on the video above for an example!
6. Proofing

After the dough is shaped, it needs to rise one more time before going into the oven. This is called “proofing” or “proving.” The amount of time this takes can vary widely. A small piece of dough (like a dinner roll) will proof much faster than a large loaf of bread. The process will also be slower or faster depending on the ambient temperature.
To know when your dough is ready to go into the oven, take a floured finger and gently press into the dough about ½-inch deep. If the hole fills in immediately, then it needs more time. If the hole fills in slowly (about 2-3 seconds) then it is ready to bake.
If the dough feels like it might collapse when you press on it or the hole does not fill in, then it is over proofed and is losing its structural integrity. You can still bake it, but it will likely deflate in the oven. Unfortunately, there is no coming back from over-proofing your dough, so it is important to keep an eye on it.
Why is it called proofing?
When dough rises it is “proof” that the yeast is alive and that the bread will continue its rise in the oven.
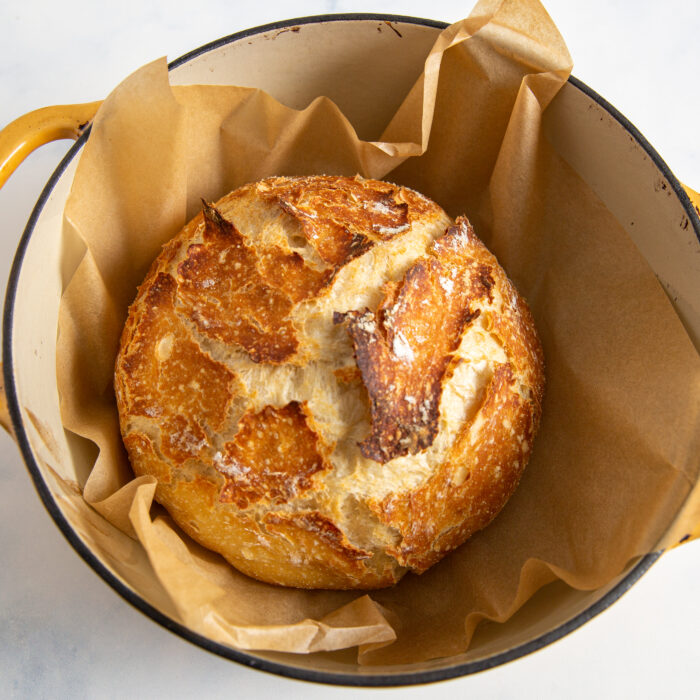
7. Baking

Bake your bread according to your specific recipe instructions. To know when your bread is fully cooked, it should sound hollow when thumped. You can also check the internal temperature with a digital thermometer. Bread is fully baked when the internal temperature reaches 190-200°F/87-93°C.
Controlling the Speed of Your Dough
Temperature is the number one factor that will speed up or slow down the timeline of your dough. Knowing this, you can do a few things to help your dough better fit your schedule.
It is important to note that yeast dough that ferments quickly will have less flavor than yeast dough that ferments slowly. If you have the time, it is best to not rush it.
To Speed Up Your Dough
If you need things to move a little faster, keep your dough in a warm environment. You can create a home proofer by placing the dough in your oven that is off with the oven light on. Boil a pan of water and then place that pan on the rack underneath the dough and shut the oven door. Do not cover the dough when you do this. The warm and moist atmosphere will prevent it from drying out.
To Slow Down Your Dough
You can utilize an optional step of refrigerating your dough to slow the progress. This not only puts a pause on the timeline of your dough, but it also increases the flavor of your final bread.
There are two points in the process in which you can refrigerate your dough: during bulk fermentation (the first rise) and during proofing (the second rise). After kneaded, you can place your dough in the refrigerator during the bulk ferment phase for up to several days.
You can also place your dough in the refrigerator after it has been shaped (during proofing or the second rise). Typically, after a dough has been shaped you can refrigerate it for up to 16 hours. The timeline for shaped dough is shorter because you can risk over-proofing your dough if you leave it too long.
In both cases, remove the dough from the refrigerator about 1 ½-2 hours before either shaping or baking. This is a great way to prep dough in the morning before work to bake fresh for dinner. Or to prep cinnamon rolls the night before to bake them for breakfast the next morning.
RECIPES FROM BAKER BETTIE!
Here are some of my favorite recipes to get your feet wet in making homemade bread!

44 Comments on “Intro to Bread Making: The Basic Process”
Ahhh your posts always make my inner baking nerd come out in fascination!
Goal accomplished! Thanks lady! 🙂
Thank you for ALL the GREAT info.
What is the 8th step of “8 basic steps that the production of all yeast doughs follow”?
Is it the eating step? ♥️
What to do if the dough is overproofed after retardation?
WHAT do u mean by lean dough and enriched dough? Does it mean the fats we add like butter or oil? Or the nutrition value of flour that we use while making it? What is wheat flour- enriched or lean?
I am not able to make wheat flour bread properly and ur reply might help me do it.
Thank u
Your detailed description on basic steps on how to make bread are essentially helpful.
I’m so glad!
Actually I have a exam and I want to know how to make.
Hi Bettie
Thank you very much indeed for your wonderful help regarding baking.
I am a fellow who has started to get into cooking now that we are all in lockdown.
You explain and deliver all the information in an exemplary delivery.
Thank you.
From an English friend
Victor
Thank you for sharing info on bread making.
You’re very welcome!
Thanks for this video. I am new to making challah and was kneading incorrectly. You have shown me the correct way. Next Thursday evening I’m going to try retardation just to see what difference it may have in the final process. Thanks again!
Shabbat shalom
Your teaching was good and easy to learn.
I’m so glad!
Very educative
Thanks it is so helpful
I’m glad!
Informative and educative,most of all enjoyable
Thank you!
Thanks the notes are well summarized and easy to understand.
I’m so glad!
Glad you like it!
Good, simple to follow and elaborate recipe thank you.
you’re welcome!
Thanks, it was helpful
I’m so glad!
Thank you Bettie. The above info in basics of bread making helps.
The bread making process is clear and understood. My question is why the fat dough is mixed for a short time because it’s a reach dough,so it mean that elasticity is not developed can this be bread,scones or cake?
Thanks for explaining the process so clearly!!
You’re welcome!
so good report
Thank you.
Was really helpful
Good day here today,
I am Baker by professional make a bread and distribute it, but i need a help to promote and build my business more and more
I teach a baking class in a high school and I only have 90 minutes. Can the students refrigerate the bread dough twice ( 1st fermentation and after the shaping and bake on the third day? I would set the dough out a few hours before class starts and I use compressed yeast. Not sure if it is rapid rise. I want the students to see the dough in each phase and have to determine if the bread is done baking. I love bread making but I want the students to learn the process.
Thnx ive learn a lot
I love the information, thanks.
The art of baking is life.imagine how would the world be without bread
Omg i feel mixing some right now yummy taste not butter only at osun state
I really appreciated for helping us to became an entrepreneur
All bread recipes say something like ‘allow to rise until doubled in size’.
How can you tell when it has doubled?
Thank you
What yeast bread recipe are you using in this video?
This one was a white sandwich bread: https://bakerbettie.com/country-white-bread/